Creating and Decorating at Home: A Step-by-Step DIY Guide on Ceramics Painting
DIY Ceramic Painting: Unleash Your Creativity and Achieve Professional Results
DIY ceramic painting is a popular hobby that offers endless creative possibilities, suitable for all ages and skill levels. It's a perfect family activity that can be both enjoyable and relaxing. By following some advanced techniques and tips, you can achieve professional-looking results in your DIY ceramics.
Preparation is Key
Before you start painting, ensure that your ceramics are clean and free of dust and paint smudges. Choose quality ceramics with a suitable shape, size, surface texture, and style that aligns with your design ideas. Plan ahead for colours and patterns to create a cohesive and visually interesting set.
Step-by-Step Guide
- Clean the ceramics: Wash your ceramics with warm soapy water and let them dry completely.
- Sketch the design: Lightly sketch your design on the ceramics with a pencil or a water-soluble marker.
- Prepare paints: Mix your acrylic paints on a palette to achieve the desired colours.
- Start painting: Begin with your base colour and apply it with a good quality brush, ensuring sharp edges and smooth applications.
- Let each layer dry: Give each layer of paint enough time to dry fully before adding another.
- Apply finishing touches: Add details and refine your design as needed.
- Clean up edges: Use masking tape to create clean lines and geometric designs, or a dry brush to clean up any excess paint.
- Seal the work: Once you're satisfied with your design, apply a clear sealant designed for ceramics to protect your work and enhance its durability and gloss.
Advanced Techniques
- Dip Glazing: Immerse your fired pottery into a container of prepared glaze for an even, smooth finish without brush marks. This method allows layering of multiple colours by re-dipping and manipulating the piece’s position to create designed effects.
- Drip Glazing: Use a squeeze bottle to apply controlled drips and streaks of glaze. Tilting and tipping the pottery guides the glaze flow, enabling textured, artistic finishes that require practice for precise results.
- Sponge Glazing: Employ natural sponges like sea sponges to blend colours softly, creating marbleized or natural stone-like textures. This technique adds subtle texture and organic patterns not achievable with brushes.
- Underglaze Painting with Thin Strokes: Applying underglaze paints with a stiff brush in thin layers and selectively removing excess paint with a dry brush enhances transparency and crispness of designs before firing, resulting in professional detail.
Tips for Success
- Work in thin layers to avoid running or uneven application.
- Be patient and take your time to achieve the best results.
- Use quality brushes for smooth applications and sharp edges.
- Keep a steady hand to maintain control while painting.
- Implement tape to create clean lines and geometric designs.
- Blend colour gradually to avoid harsh lines.
- Practice the design before applying it to your ceramics.
- Check the lighting to ensure that your design looks good from all angles.
Design Ideas
- Go geometric for a modern and sleek look.
- Embrace nature by incorporating floral or animal designs.
- Create rustic charm with earthy tones and distressed finishes.
- Use seasonal themes to add a touch of festivity to your ceramics.
- Experiment with abstract art for a unique and personalized touch.
- Personalize your ceramics with names, initials, or special dates.
- Explore cultural patterns to add a touch of tradition to your ceramics.
- Play with colours to create a vibrant and eye-catching piece.
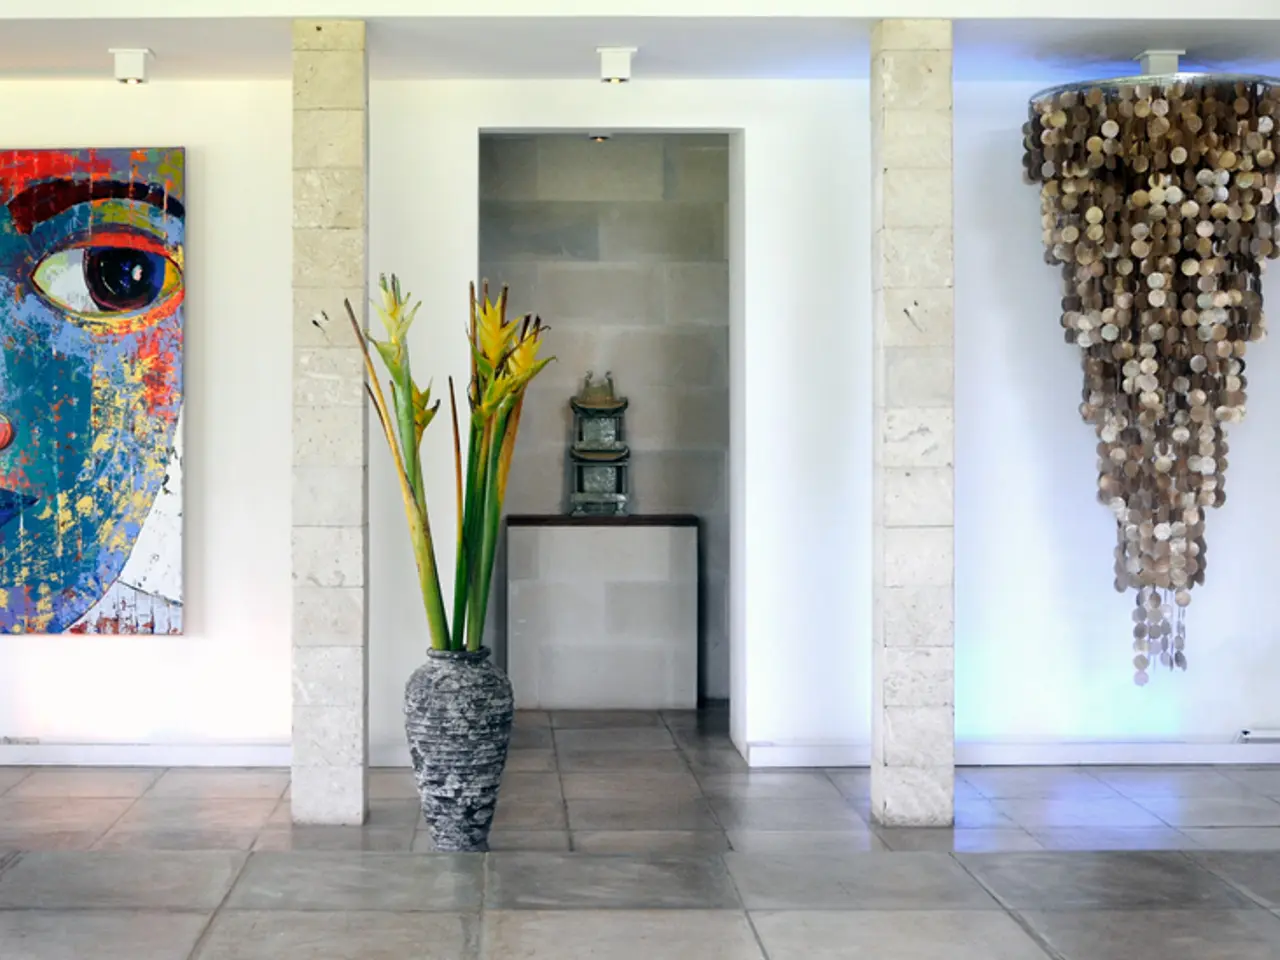
Positioning Your Ceramics
Once you've completed your ceramic masterpiece, position it where it will catch the eye in your home decor. DIY ceramic painting is about expressing yourself and creating unique pieces that reflect your personality and style. Happy painting!
- To enhance the quality of your DIY ceramic painting, focus on choosing suitable ceramics for your designs, taking into account their shape, size, surface texture, and style.
- In planning your DIY ceramic painting project, consider aligning your colour and pattern choices to create a cohesive and visually interesting set.
- Step out of the box with various design ideas, such as going geometric for a modern and sleek look, embracing nature by incorporating floral or animal designs, or creating rustic charm with earthy tones and distressed finishes.
- Personalize your DIY ceramic paintings with names, initials, or special dates, or explore cultural patterns to add a touch of tradition to your creations.
- Boost your home decor with unique DIY ceramic painting pieces that reflect your personality and style, and position them in areas to catch the eye.
- Make your DIY ceramic painting experience a lifestyle statement and explore other creative outlets such as fashion-and-beauty, food-and-drink, home-and-garden, relationships, pets, travel, cars, and shopping to enrich your life and express yourself in various ways.


